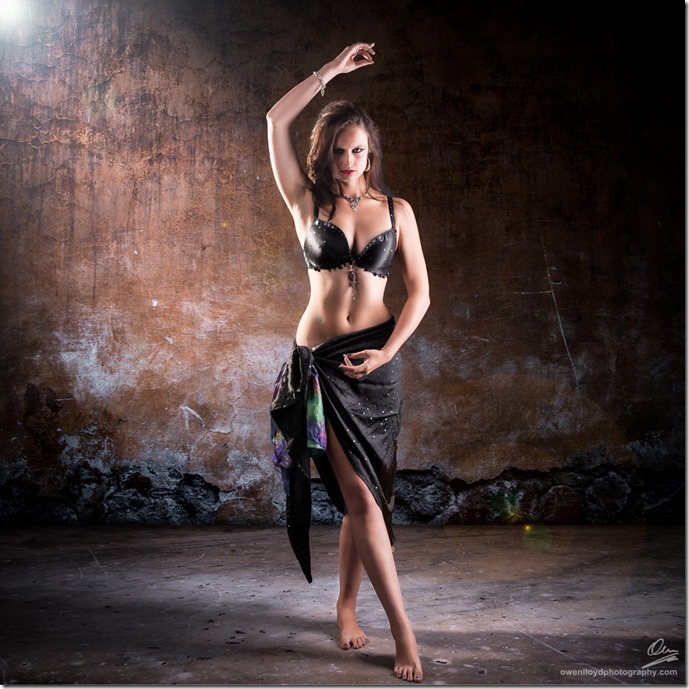
 Light grey specifically. People used to shoot on a Chroma key green or blue background to make cutting out easier (by selecting everything that is *that* green is was easy to cut out the model for pasting onto something else). It is still popular in video work. For stills though, you don’t need to bother with that, as the selection and matting tools in Photoshop these days are very good. Using these green or blue background also reflects blue and green light onto your subject. You do still need to blend in your model and create shadows, and match the lights and so on.
However! Forget all that because if you shoot on a grey background you can just throw backgrounds on top and blend with overlay. Mask off the model and you’re done.
(Well ok there a few more steps but it’s certainly less tedious than the usual perfection-selection technique)
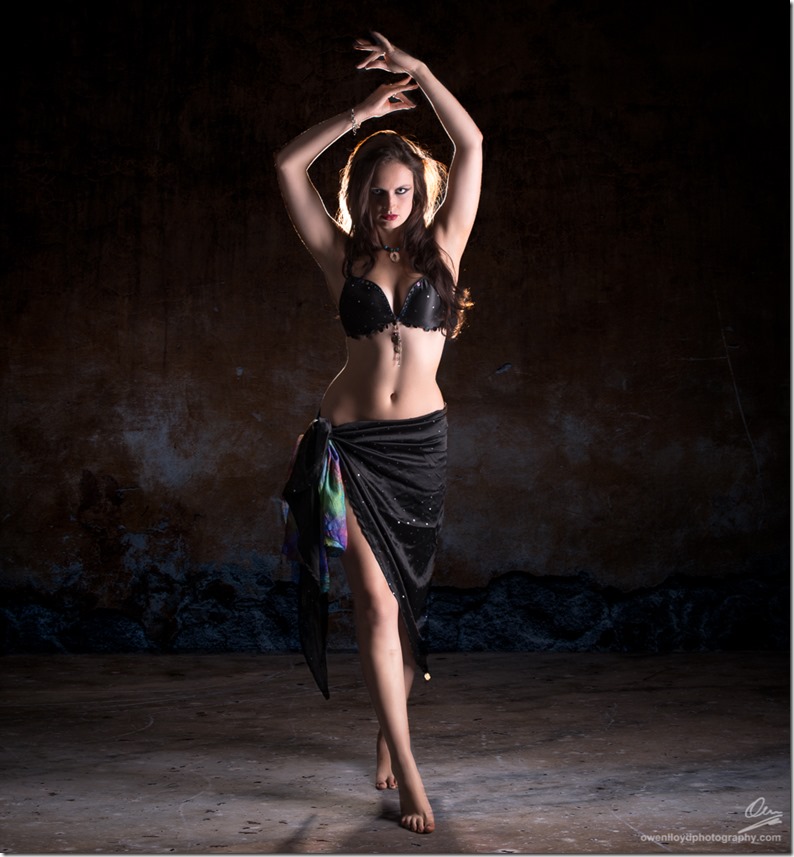
 First take your studio shots on a grey background, and if including a floor, remember to make a corner with the background rather than having it seamlessly blend the background into the floor. I’ve not done that here as I had no idea about this technique when I took this shot! It still worked ok, but would have been better with a definite corner between wall and floor.
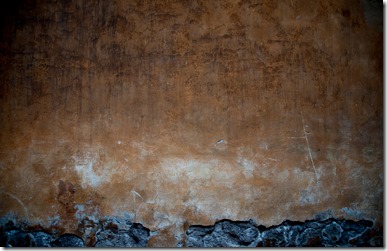
Process the shot as you normally would (retouching, expand widthways etc). Then take an image of a wall, and add it on a new layer on top of the model. Stretch and position the wall until it sits in the right place and covers the image from top left to right, and down to where the “floor” will start. Set the blend mode to “overlay”. See how the shadows on the grey seamless are magically inherited by the textured wall? Just mask this layer off the model (apply mask, use black brush ad paint on the mask over the model). I usually use the quick select tool to select my model (no need to get this absolutely perfect) and then paint. This prevents painting outside the model.
 Next, add the floor as a third layer. Instead of just stretching the floor texture over the bottom part of the picture, use the Perspective tool on the Transform menu to “lay it down” – ie alter the perspective of the layer so it looks like it;s lying horizontal into the image (pull the bottom corners apart, and use the scale tool to push the bottom edge up). Once it is in position, change the blend mode to Overlay and mask off the model as you did for the wall. When you make the initial selection , save it so you can reload the selection and use it to guard against over painting on the background.
Just to complete the join, I used a soft brush to paint a line in black over the join between floor and wall. Click once on the left hand side over the join, hold down SHIFT and click once on the right hand edge and Photoshop will draw a perfectly straight line between the two points. Adjust the opacity of the line by using the fade tool on the edit menu, just to give some shadow and depth to the intersection between wall and floor.
I also added some lighting effects and flares on the wall layer on mine, and added some clarity back in Lightroom, just to the wall and floor to give it some punch.
The best bit about this technique is that you get to keep the real shadows from the studio – and any transparent objects will show the background through them, whilst retaining reflections, highlights etc.


Pingback: Grey is the new Green - Holmes Chapel Camera Club