 If you love the Light Blaster from Spiffy Gear, but want more GoBOs (“GOes Before Optics” – the little masks that go in front of the light, but before the focusing lens on the front of any spot projector), then you have a number of options: use 35mm slides, mount Rosco size E circular gobos on card or the little plastic adapter you can download and print, or just make your own. Whilst there are companies that will print digital images onto 35mm transparency film, I’m not looking at that option here – I nearly always want a simple, graphical shape for my work, and metal gobos are the way to go for the best results – as they always block all the light where there is no hole cut in them, and have crisper edges.
The little creative kit you can buy for the Light Blaster is great, and I use these quite often for backgrounds, lighting the subject, lighting fog etc however it lacks simple shapes such as a single slit, or the very common venetian blind option. Rosco make hundreds of gobos in many sizes and types from metal to glass and full colour slides. For the Light Blaster, the Rosco metal gobo, size E is ideal. In the UK you can buy them from a couple of places: Gobo-Plus: www.goboplus.com/rosco-gobos and Stage Depot www.stagedepot.co.uk/lighting/gobos They are not cheap t £15+VAT for a 40mm metal disc but the catalogue is vast. I’ve bought from both companies before, and they both give great service and understand the meaning of urgent 🙂
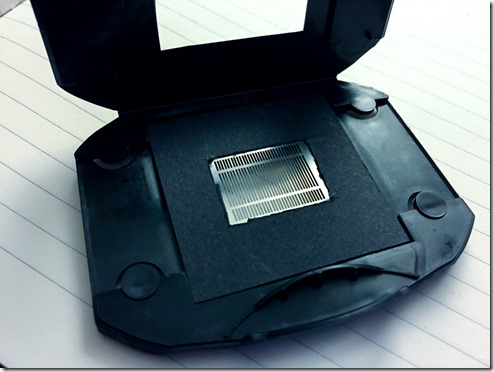
 To get your Rosco E metal gobo into the Light Blaster holder, you’ll need some form of mount that fits in the 35mm slide area in the cartridge. There is a simple 3D model you can download from here https://www.thingiverse.com/thing:781828 and print and whilst this does work, I found getting the gobo to stay in the hole was a bit tricky. Thanks to Les from the ever-helpful Talk Photography community for printing this for me.
In the end, I mounted them between two pieces of thin black card. A4 black card is useful for a number of things in photography, and I regularly make snoots and flags out of them – you can buy it in WH Smiths £3.99 for a pack of 25 snoots – bring your own black gaff 😛 I used the 35mm slide Spiffy includes with the Light Blaster as a template – just make exact copies of the slide. I cut the outside using a small guillotine from 7dayshop as it guarantees 90 degree corners, and then using the aperture in the slide holder as a template, I cut out the hole using a craft knife on a cutting board.
When you have your two pieces of card, position the gobo between them and glue together. I used strong Pritt Stick, and it has held together for months so far, however anything that will glue card will do. One small disadvantage of this method, is that you can only rotate the gobo in 90 degree turns, however I’ve not found this a problem tbh and can always mount the entire Light Blaster on a ball head. I used the Rosco Venetian Blind gobo above to shoot this image with Jessie Amy. In this case, the Light Blaster is creating the background – additional Speedlights are used as a key and hair light
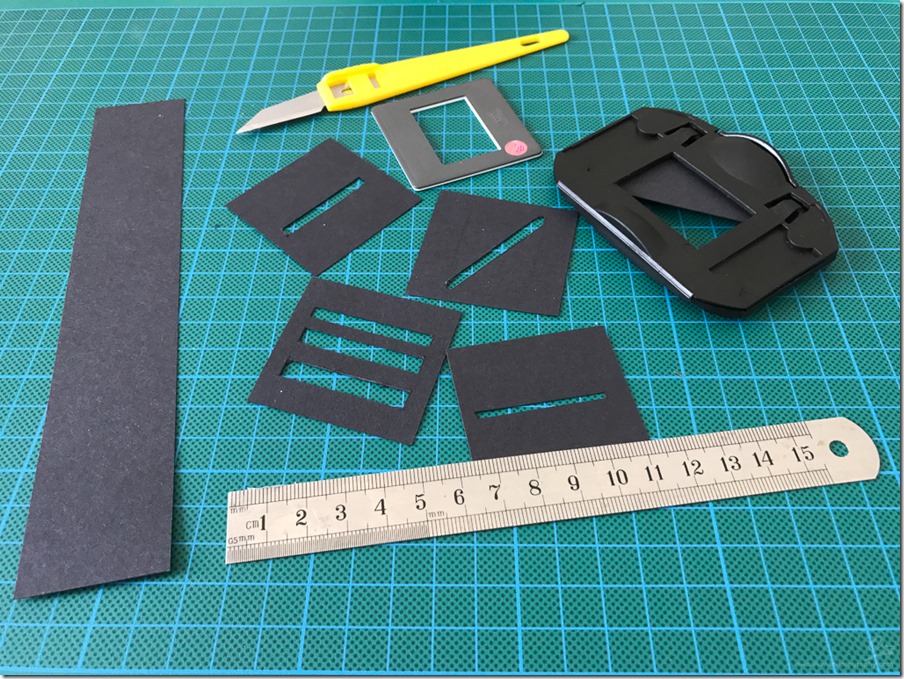
So that’s Rosco. However, they are expensive and if all you’re after is a something really simple, say a single slit, triangle, rectangle etc, you can just cut your own out of the same black card I used to mount the Rosco gobos. Cut squares as before using the 35mm slide as a template, except this time, use a pencil to draw the aperture in the middle (again using the 35mm slide holder as a template) instead of cutting it out with a knife. Now take your craft knife and a ruler and cut shapes inside that rectangle you just drew with the pencil. You could also use a hole-punch to make circular holes. Here’s a few I made for the creative/beauty headshot at the top of this post that I shot with Nicky Phillips:
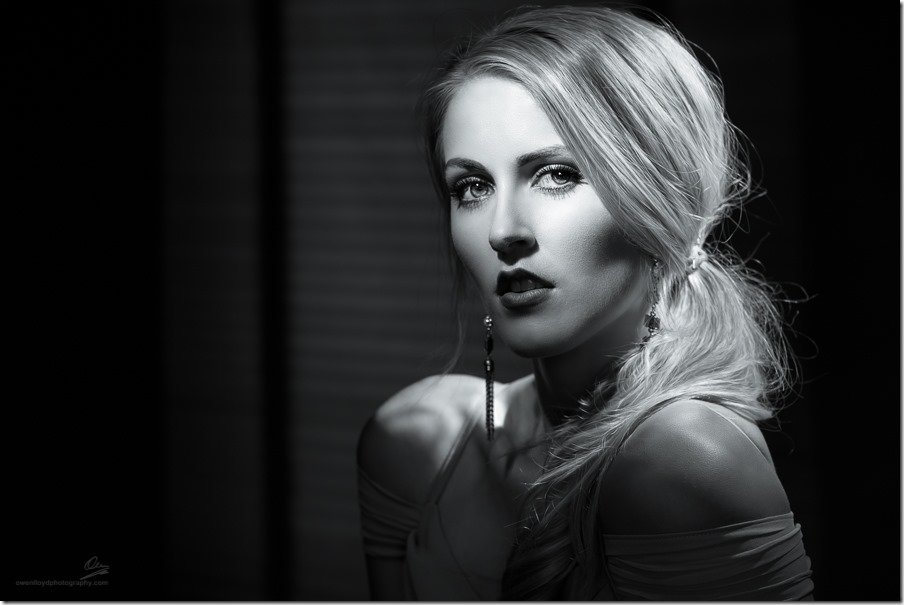
The edges will never be as crisp or precise as a laser-cut metal gobo, however in many cases, I’m de-focusing the Light Blaster anyway: its just a way to get really precise localised light in a shot sometimes rather than actually projecting a pattern as such. I used the diagonal single slot gobo you can see in the centre of the image above, to make the image at the top of this post. I added an orange warming gel in with the gobo, and used a studio flash head with a beauty dish and a blue gel to provide the fill light.
The Light Blaster is focused with a Yongnuo 50mm f/1.8 EOS mount lens – a real bargain at £35 new, and very light.
Lastly, don’t forget, you can always combine gobos to make more shapes, so for example, if I wanted a tiny square, I could put two slot gobos in from the selection above at 90 degrees to each other. Plus, in the example above you can put small pieces of gel in as well – and sometimes I put different colours over different parts of the gobo. Happy cutting!


This is a fantastic help! I’m working on a novel use idea which is to use it to throw textures onto objects and synch with stereo photogrammetry capture. I’ve been using my PK lenses and a PK>Canon adapter. Still a work in progress.
PS Love your galleries and especially liked your blog on portrait lens selection.
Hey thanks Tony, and apologies – I only just saw your comment! Your project sounds really intriguing – would love to see some results!
Love this article.
How well will designs created and printed from CorelDraw, Adobe Illustrated, or Photoshop work? Are there templates for these programs available or just use the ones described here?
Hi Frank. I don’t think it really matters what software you use to make a pattern, and there are no templates as such – it’s a 35mm slide. Your issue will be cutting that pattern. There are services that will print an image to a 35mm slide and that’s the most straightforward way of making complex gobos. Tbh, if you want that sort of complexity, you may as well use a digital cine projector. This is where I ended up, for complex colour patterns – I make them in Photoshop and/or BorisFX Particle Illusion and save them to my phone – which I later connect to a projector on-set. I use the Lightblaster for simpler, graphic shapes I can cut with a knife out of card or Cinefoil (or just buy from Stage Depot). Stage Depot will also cut custom designs in sheet metal, but it is expensive.