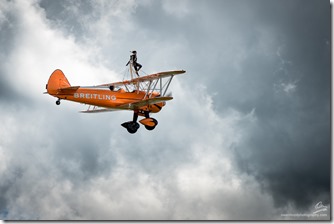
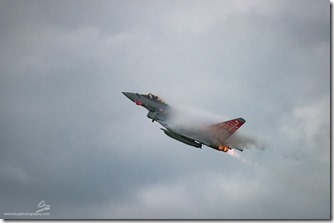
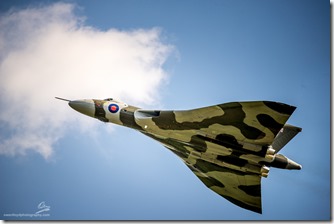
I’ve gone to the air show at RAF Cosford for the last 3 years and whilst I’m by no means a dedicated aircraft shooter, I thought I’d share some of the things I’ve learnt in that time.
Category Archives: News
ISO: does it really matter?
I watched Tony Northrup’s video on how to interpret the test scores on DxOMark (click here to watch this). Tony and Chelsea’s videos are always well researched and I recommend them as a source of objective information. Moreover – Tony takes a scientific approach to the research. What does this mean? Well, science is all about fact and evidence, and if you find evidence that contravenes your hypothesis, you need a new, or least modified hypothesis. Tony does this – if he finds evidence that what he thought before was wrong, he changes what he says. Not everybody can grasp this as can be seen in the comments below his videos 😛
In this video he observed from DxO’s test charts that especially for the sensors in Nikon bodies, there was almost a 1:1 trade off in dynamic range for every stop you gained in sensitivity – so in theory, you were not really gaining anything. E.g., if you shoot at ISO 100, and then same thing again at ISO 200, you gained a stop of exposure, but lost a stop of dynamic range. The extra dynamic range in the ISO 100 shot, allows you to bring it up a stop in post to match the exposure of the ISO 200 shot, with pretty much the same results.
I have a bunch of Nikon bodies so I thought I’d test this. I used my D810 for these test shots. I took 3 shots in manual exposure. One at 1/320th of a second, f/8 and ISO 3200. Then I took the same shot but at ISO 100, and added 5 stop of exposure to it in Lightroom. As a reference I then kept it at ISO 100 and dialled in 5 stops of exposure time to get a clean shot at 1/10th of a second, f/8 and ISO 100. Here they are:-


Testing Macro Solutions
Fancy doing some insect macro out in the wild and I’ve been trying out various lens solutions and lighting. Last time I did any of this I just brought the flies into the studio and this works well. See here. This time I wanted portable rig for capturing the flies in their natural environment. Here’s the first rig. A Sigma 105mm Macro with some passive extension tubes on it to give more magnification, 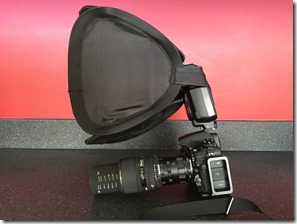 but with the loss of auto-aperture control. Normally, with modern automatic cameras, the aperture diaphragm is wide open when you are looking through the finder, and only stops down to the aperture you dialled in when you take the shot. This means there is plenty of light to see and focus the subject by. Without auto-aperture control, you either have to open up and stop down the aperture using the aperture ring manually (and in doing this you’re mess up your focus) or you need to look into the darkness and attempt to focus the subject with the aperture stopped down. As you can imagine, the success rate isn’t high :-/
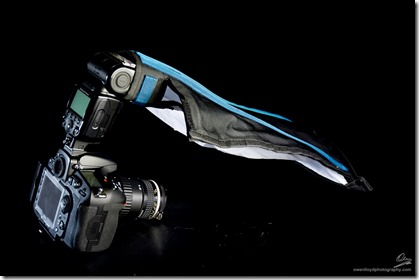 For the light I jammed on a small soft box, which has enough surface visible to the subject to cast some light on it. Most of the light is lost though, and it’s a bit harsh. I’ve switched out the soft box for the Rogue Flash bender XL with the soft box attachment. This gives a good wrap around light and the best bit is that of course, you can bend it, so if you want more light on the right or left you can bend the appropriate side down, or bend the far edge down for some more backlight etc. The subjects will be around 40mm from the front of the lens (or back of the lens in this pic as it’s reversed :P) so from that position it’s a really nice soft light.
I’m just using the flash on TTL, with the camera in manual exposure, 1/250th of a second at around f/8 to f/16. I’ve left auto ISO on for these as well. As you’ll see below, this means more or less ambient in the scene depending on the magnification, with an almost black background for the higher magnification shots, as the ratio of distance to camera (and the light) between subject and background increases (and so the light falloff is more pronounced).
Beauty Shoot
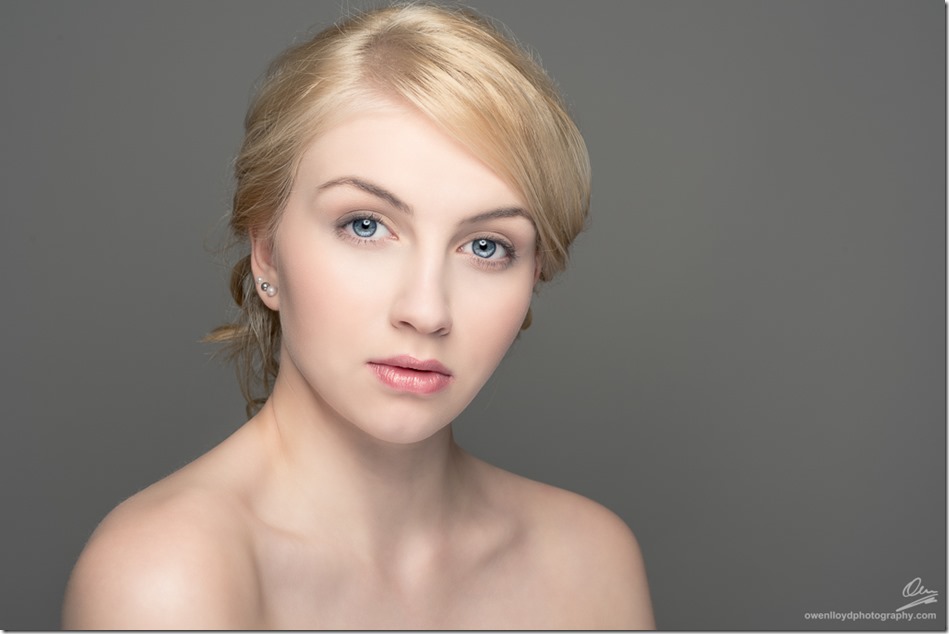
It’s been a while since I did any classic beauty style shots in he studio, and I’ve learnt a lot since the last one. Mainly I’ve been influenced by Joel Grimes in recent months for this sort of look – joelgrimes.com Go check out Joel’s work – he’s been working as a photographer for over 25 years and has honed his craft to a fine level of detail, and that’s what his style is all about – the lighting, shooting distances and angles are very finely tuned. That doesn’t mean he gets a tape measure out, in fact one of the hallmarks of Joel’s approach to his work is that nothing matters except the result – he’s not interested in meter readings, modelling lights, histograms, ratios or any of that stuff – if it looks good on the back of the camera – it’s right. Having studied his work both via his website, YouTube, and a couple of his videos on KelbyOne – http://kelbyone.com/members/joelgrimes/ I booked into my friend John Gannon’s studio http://www.studio-de-lumiere.co.uk/ with model Jessica-Jane Taylor and Make-Up and Hair stylist Emily Rose Connor to put what I had learned to use 🙂
It’s like Piccadilly Circus out here!
Hung out in Piccadilly Circus for 2-3 hours last Wednesday evening – and after shooting the obligatory shots of the advertising screens, I wanted to get some of the traffic rush, which contrasts with the static nature of most of the people here – the statue of Eros is just covered in people. The light from the ad boards lights up the building on the left and is reflected in it’s windows – so you need to wait for the right advert to play to get the right lighting on the building. Then of course you need to wait for this to coincide with a green light for the traffic, and for a bus to pass :). 1/6th of a second, handheld – thanks to the Nikon VR system !
My mate Chris Davies called me while I’m standing there and says “what’s all that noise? Where are you?”. Well it’s like Piccadilly Circus here fella, mainly because it is 🙂
Torridon with Ian Cameron
The wellies are now dry.
At the end of January I went up to the west highlands around Torridon on a tour with Ian Cameron. Ian lives over on the Moray Coast (East coast) of Scotland, so this area is fairly close for him and he’s explored it for a number of years now. If you are going to somewhere for the first time, it really pays to have someone who really knows the area show you around.
Lencarta – lighting catalogue 2015
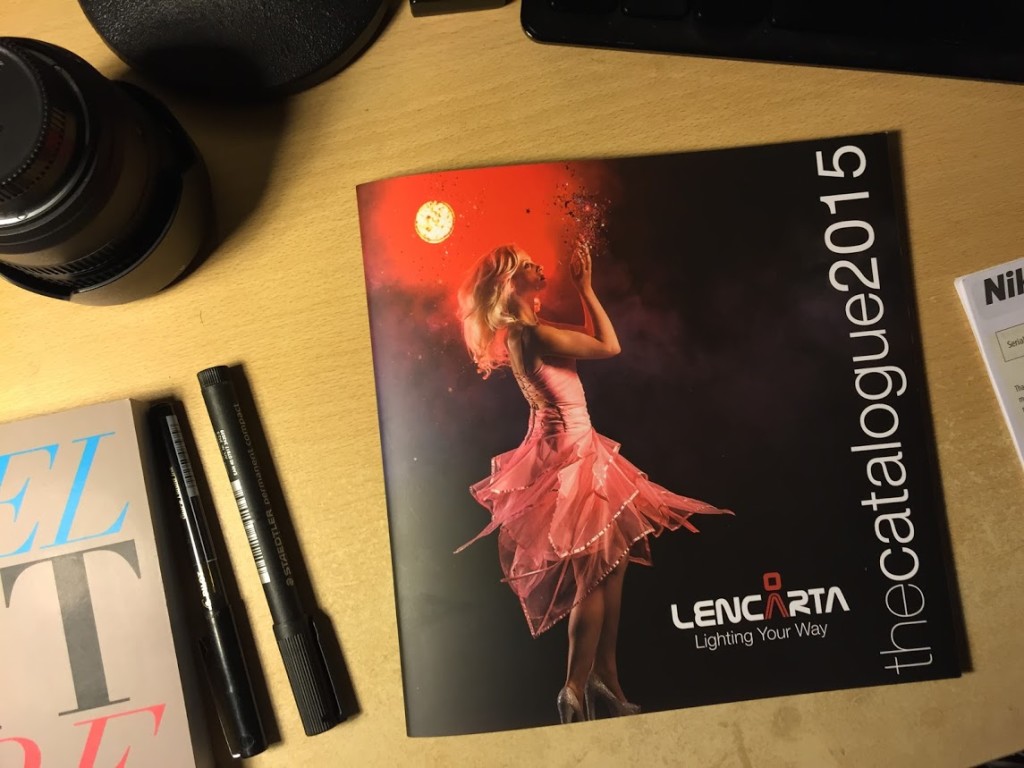
Lencarta’s 2015 Catalogue – picked up at the Photography Show at the NEC Today. Cover looks fantastic. The pages within are not too bad either 🙂
Questions
Cassie Wrightson, a photography student from Hertfordshire in the UK wrote to me to ask about the pictures in my Dance Gallery for her written piece on the theme of ‘Time’. Here’s what she asked, and I sincerely hope the resulting babble I sent back was in some way helpful 🙂
- My first question is what is the context behind the photos?
- How did you take the photographs?
- Which camera did you use and what setting did you have your camera on?
- How did you get the image so crisp?
- Why did you choose the colours of what the dancers wear?
- Is there any hidden messages that link to the photos?
- And finally why did you choose these 22 photos in particular?
Landscape Photographer of the Year 2014
I know we probably shouldn’t be viewing photography as a competitive sport and you know, as long as you’re shooting what you like it’s all good and so on, but, well, what can I say? I don’t mind a bit of validation now and then! So I am absolutely delighted to be able to say two of my images have made it into the 2014 book, and the free exhibition on at Waterloo Station in London from 1st December until 31st of January 2015.
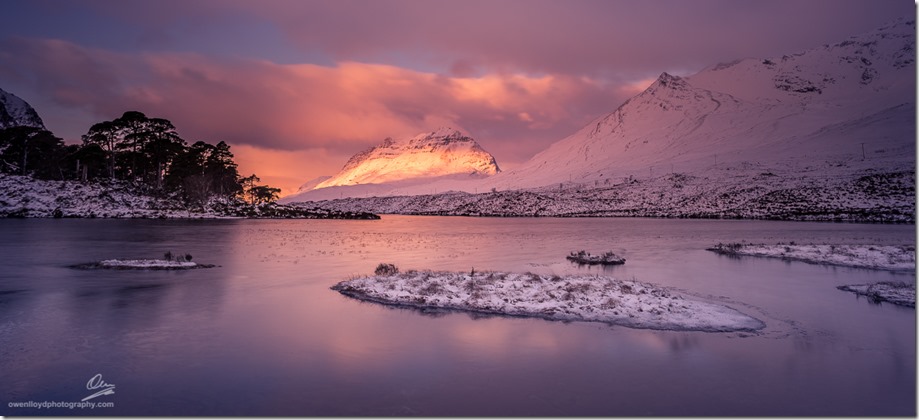
The first one (left) I took in January 2012 of Llyn Idwal in North Wales. The sun is just struggling above the snow capped ridge at noon on this winter’s day, and lake was just completely still. I’ve never seen it like this, either before or since. The rocks above and below the surface provide great foreground detail, and by aiming a wide angle lens down into the water, we can see through the surface. As the angle gets shallower, as the water surface gets further away, the reflection of the mountains and sky takes over. The image on the right, was an opportunistic shot taken on a weekend
trip with friends to the Lake District. We had just driven along the road seen in the picture, and I saw this scene in the rear view mirror. I stopped around the corner at the next park and viewing point and walked back to this point and set up my tripod. The clouds were moving fast across the sky that afternoon, and so, even though this was taken in the middle of the day, the clouds provided that dynamic element to the light – both from the dramatic and moody backdrop, and the pools of light across the valley.
Calgary to Vancouver! (episode 2– Lake Louise )
…and this one’s for Jeff from Minnesota ![]() Hope the rest of your trip was as fantastic as ours.
Hope the rest of your trip was as fantastic as ours.
This was probably the most up market hotel we stayed in during our trip – the Fairmont “Chateau”. It looked more like Castle Colditz to me tbh, or an NCP car park with glazing – see below. Very nice 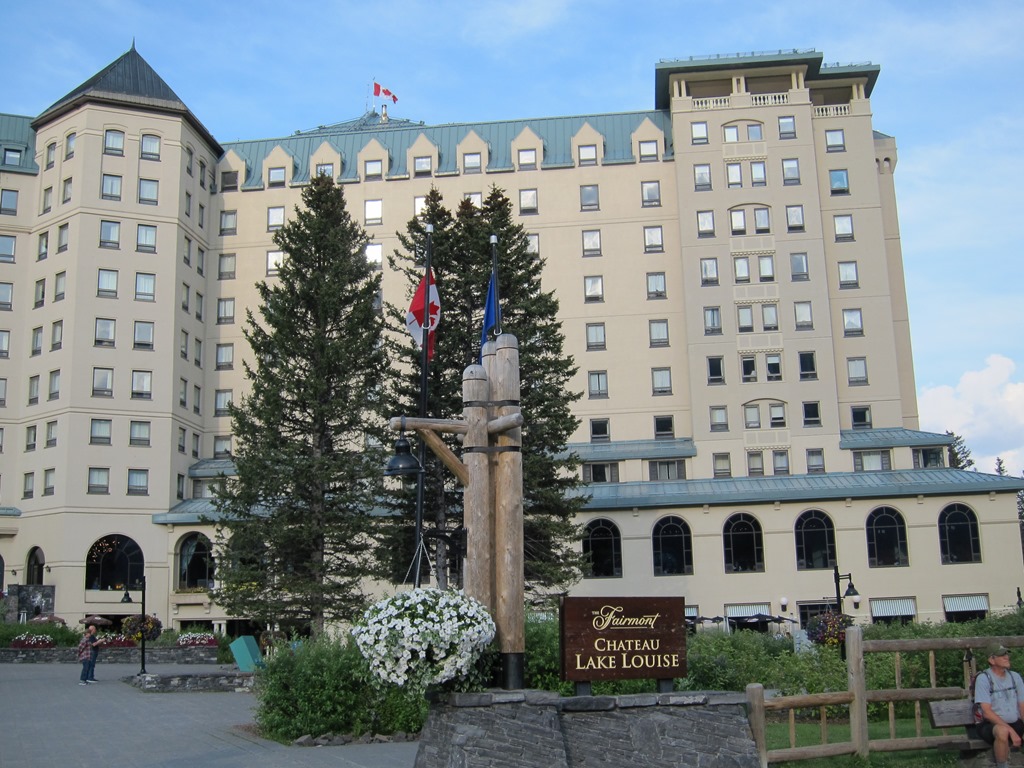 inside, but I somehow doubt the designers had seen too many French Chateaux…
It also had the north-east shore of the lake inside the hotel grounds, and although I had no idea at the time, it was best opportunity I had to put some real effort into a landscape shot. I mean – if the lake is right outside your hotel, there’s no excuse really…
We only had one night at the Fairmont and arrived early in the evening having spent most of the afternoon at Moraine Lake. We dropped the bags and went down to the lake. There’s a slipway in the middle of the lake shore that faces the back of the hotel, and this pretty much aligns with the view down the entire length of the lake. I wanted some foreground though, and I didn’t want to to park myself in everyone’s way either, so I climbed out onto the large round boulders to the right of the slipway. The first task is to work out the focal length, and position of the camera. I usually start with the 28-300mm super-zoom on the camera, and look for frames in the distance at the long end and wind it back in to 28mm and look for horizontal and vertical frames with foreground. I did know pretty much what shot I was going to take of this though, having done this wide-angle-see-through-foreground-water technique a few times and I knew this was a job for the Nikon 14-24mm f/2.8
