 Emilia Gaza contacted me recently to ask if I’d be interested in shooting some dance/burlesque with her. Her portfolio notes over on PurplePort are filled with such enthusiasm and passion for dance and to create images of it I immediately said yes!
There is now a short BTS video on this shoot here! https://www.youtube.com/watch?v=B2FlStiMJGU
We put together a mood board over on Pinterest and we both pinned up our ideas. Emilia had a lot of different things she was interested in shooting from silk fans to wings, and swirly belly dancer/circus type outfits. We both set about finding these from various suppliers all over the world, from China to Manchester 🙂
 I also bought 3 640-watt focus-able hot-lights with barn doors and dimmers to give us a controllable source of continuous light to introduce blur into our movement shots in selected areas. They are cheap clones of the old style Arri tungsten lights with a Fresnel lens on the front, reflector dish and big ‘ole tungsten bulb in the back, on a movable rack, so you can make the beam wide or narrow . The frosted Fresnel gives a nice falloff to the spot around the edges. These days, Arri make some very nice LED based lights that look similar, but do all manner of tricks from full colour changes, and integration with modern theatre lighting control systems. These cost a small fortune though (an Arri L7-C will set you back £2500). Other lighting manufacturers are emerging such as Lupolight in Italy that are cheaper, however for the amount of use I intend to get out of these, even their £900 each price tag is a bit unrealistic. So I went for 3 old school tungsten hot-lights for £300 inc 3 half decent light stands and a wheeled case which is useful.
I hired one of my favourite studios for the shoot: Millwood Studio in Stalybridge on the north-east edge of Manchester. Millwood has a large space upstairs where Emilia could move about, and a small but usable white cove downstairs, as well as a number of permanent sets. We wouldn’t be using those for our shoot, however Paul and Jamie have packed out their studio with all manner of props, sets and furniture from pianos, a four poster, sofas, chairs, and a massive wardrobe in the large changing and make-up room.
I’d booked out the studio for 8 hours, and reckoned we’d get through 4 or 5 lighting sets with some costume changes in some of them. These shoots are always bit chaotic as you see more possibilities as you progress through the shot list and this one turned into a complete riot…
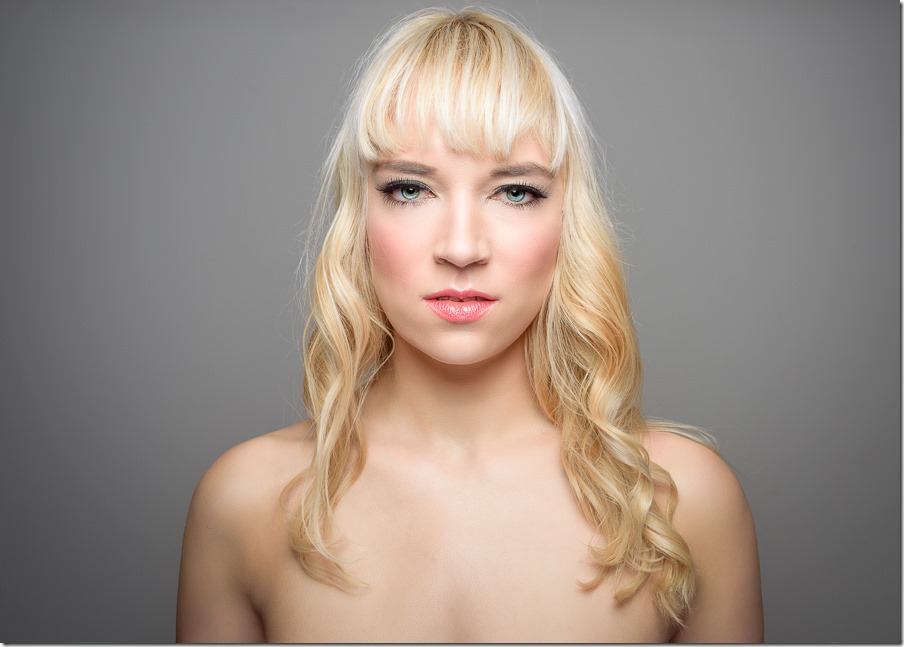
We warmed up with some classic beauty shots while Em’s hair and make-up was fresh and she hadn’t started any leaping about. We used a small silver beauty dish with the diffuser on (it really doesn’t matter if it’s silver or white if you put the diffuser on – it’s then a small round soft-box, but with the added bonus of the deflector disc in the middle which eliminates the hot spot). I also added a medium sized softbox on a floor stand for filling the shadows. I prefer this to a white reflector as it gives a bit more flexibility for posing, and makes the amount of fill very controllable.
This was also the first outing for my latest wind machine. I have a pathological dislike to forking out loads of money for something, just because it’s painted black and has a light stand spigot hole in the bottom. Special “photography” versions of otherwise cheap-as-chips items. Fans are one of those things. Forget office fans: most of the air goes around the blades and they just spend most of their energy churning the air around. You need an enclosed channel. However, there are plenty of air moving devices that do work well – you don’t need to spend £300 on a Bowens studio wind machine. My small electric blower works really well – in fact it’s so strong you need to stand a good 8 feet from the model to avoid the driving-an-open-cockpit-racing-car-with-mouth-open look. It’s also very noisy. I picked up the idea to use floor dryers from Lindsay Adler’s class on KelbyOne, and bought one, new for £40 (~$60) via eBay. It’s quiet, produces a directional but quite gentle airflow and works really well from 3-4 feet away for long hair. You can also put it on the floor where it sits at a 45 degree angle – perfect for pushing dress fabric about.
We needed total darkness in the studio to do anything with continuous lighting and long exposures. The sun would set around 3:45, so we had a few hours to do some regular action freezing flash driven pictures.
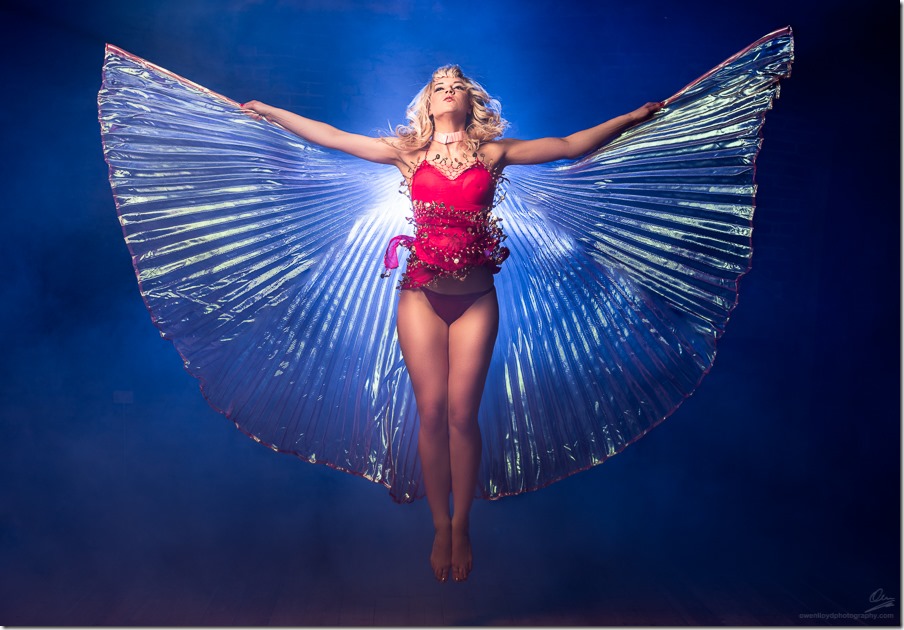
We started off with the red wings, and matching red outfit, lit by a large beauty dish with a grid. Why this modifier? There’s no particular reason for a beauty dish. I needed to get the right size to the pool of light, at the distance Emilia would be from it and I prefer for the light to be out of the frame, so the framing of the shot determines the distance. It’s then a matter of working out which size and shape of reflector will give the desired pool of light, and roll-off from light to dark. These two characteristics of the light pool are the reasons why we have different sizes and shapes of reflector: size of the light pool, and the rate it transitions from light to dark at the edges. The large beauty dish on its own generated a pool of light that was too large, with a very shallow drop-off towards the edges. This wouldn’t give me the contrast and drama I wanted. Adding the grid meant the light was contained in the middle of the shot and rolled off abruptly but with a soft edge.
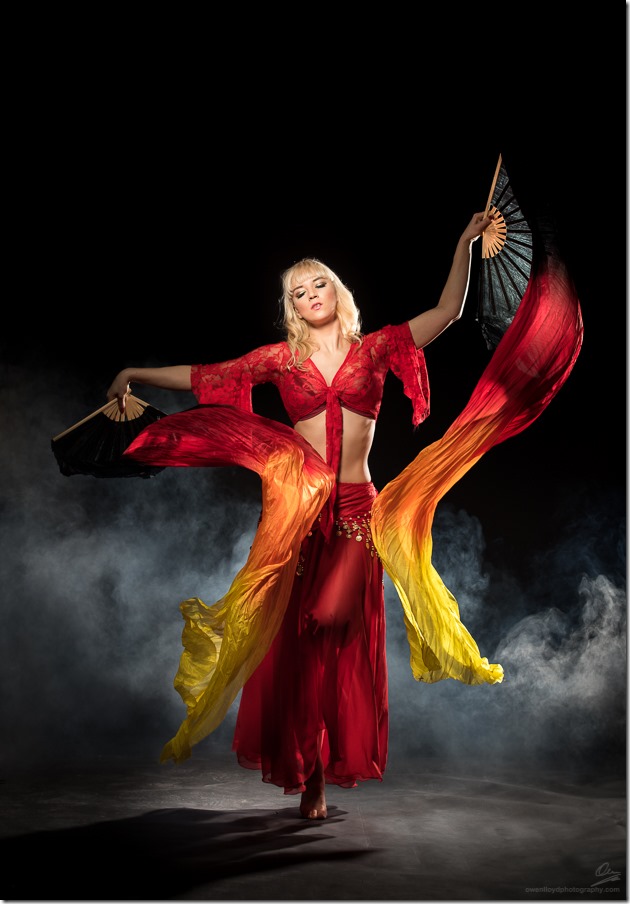 Next we switched out the red wings for two silk fans. These are lengths of coloured silk with a fan like arrangement at one end. They make some very attractive curls and shapes in the air. Backlighting makes a nice glow through them, and front light gives some very nice reflections, so we got some interesting mixes of both as Emilia swirled them around. We kept the lighting pretty much the same for this first one – but with one backlight from the right hand side, and one front light. We took the grid off the front light to give a more even spread on the silks.
I shot these from about 5 metres away at 95mm, with the camera around 1m off the floor. Shooting from a slightly lower angle from a reasonable distance will make your model look a bit taller, with longer legs without appearing too obvious.
Then it’s a question of timing. I can shoot on burst mode with this arrangement as the SF600 lights have no recycle time at all at the power level I was using (about 2 stops down from maximum, or about 150ws) however the fans very often cover Emilia’s face. They’ll also look very thin at certain points in their travel. Combined with this, I also needed to consider the position of Emilia’s legs: if she’s on a low point during her leaps and turns, her legs will be bent and look short. I was looking for legs extended, and more or less together and this frame with one leg off the floor, both feet extended and the knee slightly bent is pretty much perfect. Her glance, with eyes closed, head angled up and the natural looking wrist positions are also good. Of course, you can’t control all of this when you’re shooting movement and dance, so I concentrate on one or two aspects, look out for those looking good and take enough frames that there’s a good chance that the rest will fall into place on a few of them. We shot about 1100 frames during the day – over 8 hours.
Staying with the silk fans, Emilia changed outfits and we changed the lighting, to one light directly behind Emilia facing back to camera through the fog, and we put the grid back on the front light to avoid destroying all that nice backlit fog. I asked Emilia to do some big head movements to get some dynamic hair, and I really like this one as the hair mimics the shape of the bottom silk. We spent some time controlling the spill of light on the floor with barn doors on the back light. You can also burn the edges of this in post, and generally reduce it. I tend to use the radial and graduated adjustment tools in Lightroom for this and then erase the effect from her legs and the silks. Add some mid-range contrast (“clarity”) to you fog to get a bit more texture in it. This also works well on the backlit hair with some local sharpening to make it really stand out against the fog.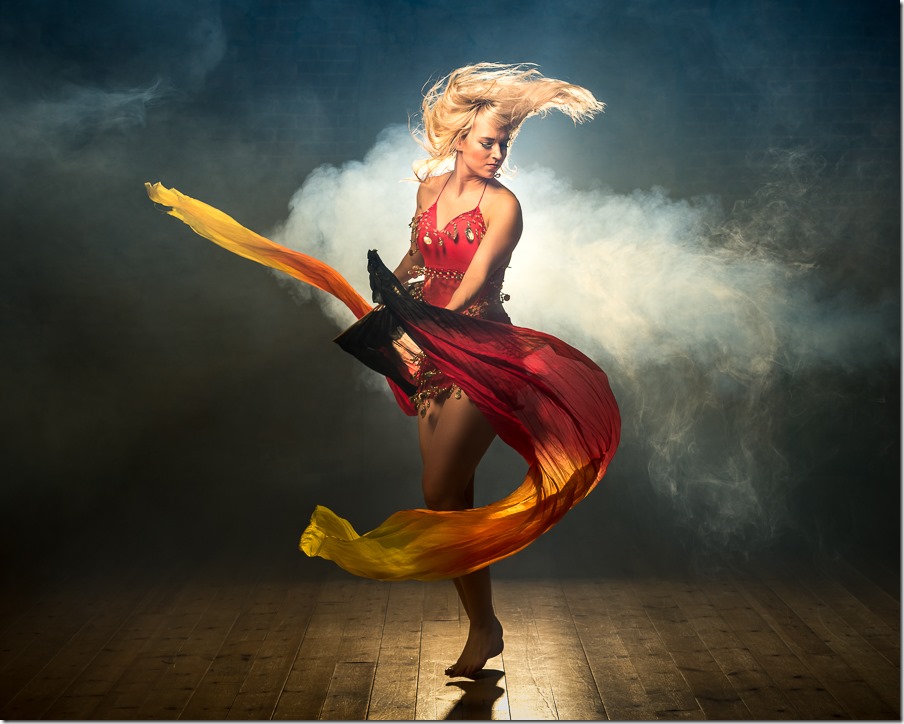
We switched back to the red wings briefly to get some set jump shots – with no fog :). We then added some fog and a blue filter to the backlight to get the shot at the top of this post.
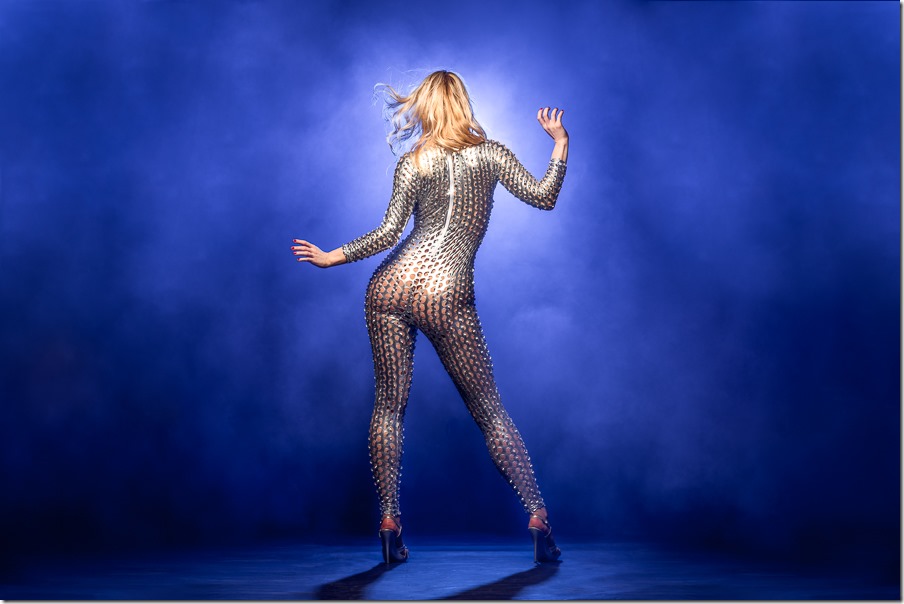
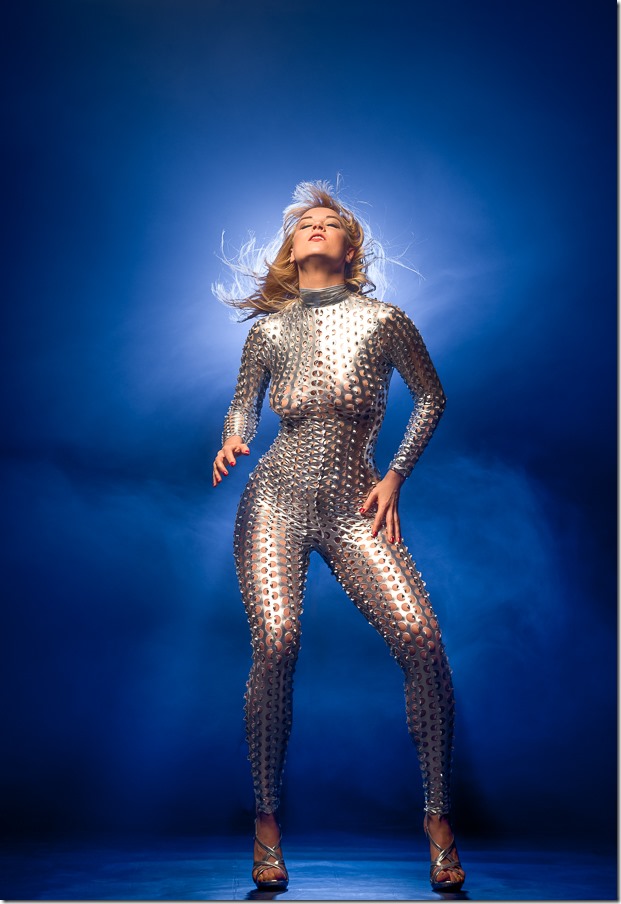
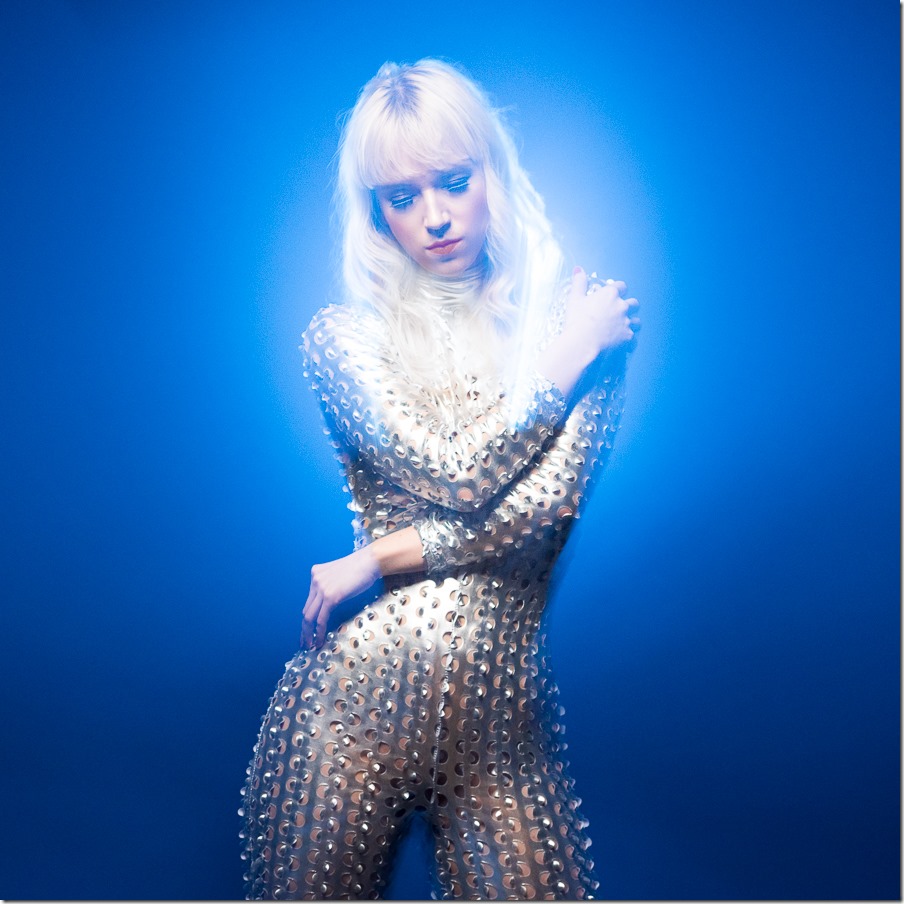
Then it was time for a change of outfit and style of image. I’d seen this fantastic body suit being worn by Cirque Du Soleil performers in a fantastic shot by Joe McNally, out in the desert. Joe had the performer do a handstand on top of a very large Gitzo tripod and the light on this silver outfit looked amazing. You can see Joe shoo this here on YouTube. After a bit of searching around on ebay I found and bought silver and gold versions. We chose the silver for this shoot as Emilia’s blonde hair would blend into the gold suit. Now: these suits are one size, and one of the things we were both concerned about was that it would be loose, or baggy or too long, however I found a few more images using these bodysuits and Emilia was taller than most of the models wearing them and has a curvy figure.
We stuck with the blue backlight, and switched the front light to a small octabox (95cm) to give an even light down the suit. I shot these vertically, from the other end of the studio at 125-145mm. The horizontal (wide) images are expanded width ways in Photoshop using a variety of techniques from generating extra background using content-aware fill, to flipping, moving and blending in parts from elsewhere in the image. This gives me an 80MPixel image which will print at 3 foot wide at 300dpi.
As it was now pretty much dark outside, and so, could be dark in the studio with the ceiling lights off, I decided to do some camera movements with selective continuous lighting. I left the modelling light on the backlight, and turned it off on the main light. I set the flash mode to first curtain sync so the flash would fire at the start of the exposure. This is the way to go if the framing of the main subject – our model, is important. I pressed th shutter release, and moved the camera down and to the right to get these streaks:-
…and then with the same lighting setup, a pressed the shutter release and zoomed out. This made the glow from the backlight bleed into the centre and produce this wonderful glow effect around Emilia’s face:-
For our final set, I set one focused tungsten hot-light with barn doors off to camera right, aimed to light only the bottom half of the frame. Off to camera left, I put a strip box with grid on a Lencarta SF600 flash. I set the flash mode to rear curtain sync so it would go off at the end of the exposure. I took these shots rom the other end of the studio, on bulb mode, so the exposure would last for as long as I held my finger on the shutter button. When I let go, the flash would fire and the shutter would close. These shots are between 1 and 1.8 seconds. The tungsten light was turned down real low. The amount f light you need for this sort of thing depends on the nature of the dance moves. The more ground the performer covers in a given time, the more light you need. Ballet, for example tends to cover ground quite quickly, and a piece of the frame is only getting lighter when there’s something there for the light to reflect off. Emilia’s style involves a lot of turns and leaps in a relatively small space, and with volumous outfits with silks an flowing outfits, so I didn’t need a lot of light for a 1.8 second exposure.
I only lit the bottom half as I wanted Emilia’s face to be sharp. The little metal “coins” on her outfit produced some lovely gold streaks in the mass of red and yellow blur.
Post processing
Not a lot to do here. The beauty shots of course got the usual treatment, of separating the colour from the texture using frequency separation which allows me to even out the skin tones whilst leaving the texture intact. Dodging, burning, and various colour and contrast adjustments. The dance shots meanwhile, require relatively little: mostly clean up of stray hairs, junk still visible in the background such as light stands, power cords, bits of studio etc. The width expansion that I described above, and adjusting the contrast and colours, both globally and selectively.
Coaching your model
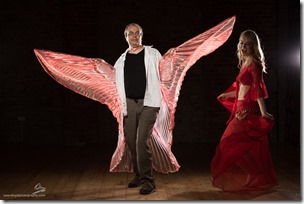
Now, of course Emilia is a wonderful dancer, however I felt I had to show her exactly what do with the wings. I think she got it. Mostly. However in case there’s any doubt as to the proper technique, here’s how it should be done:-
Emilia was a delight to work with – so passionate and enthusiastic about the result – she danced all day. Even when I wasn’t taking pictures. We just had to move her under the light when I was ready to shoot 😛 My thanks also go to Paul Clarke – a very talented (and hence very busy) photographer and a good friend and Paul Booth (another very talented and very experienced photographer) who runs Millwood Studio with his son Jamie. Operating one wind machine and two fog machines is not really possible on your own, especially when you shoot from the next room, so these pictures would not have happened without their help.






Hi Owen
Just wanted to say how much I love all these images.
Do you do any teaching at all – either workshops or one on one?