There are some photo ideas that have been done so much that I will probably never do them, unless I think I can build on them to produce something a little bit different. This one has been on my photographic to-do list for some time, and I’m not done with it just yet, however I thought I’d share the journey so far.
Sources of Smoke
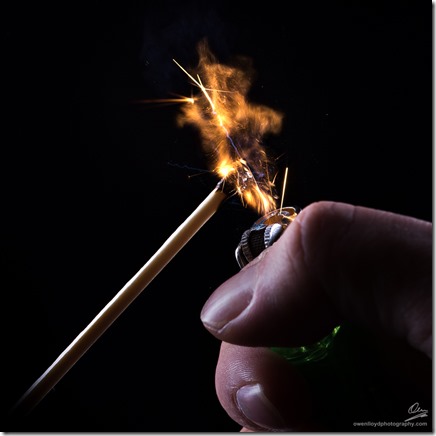
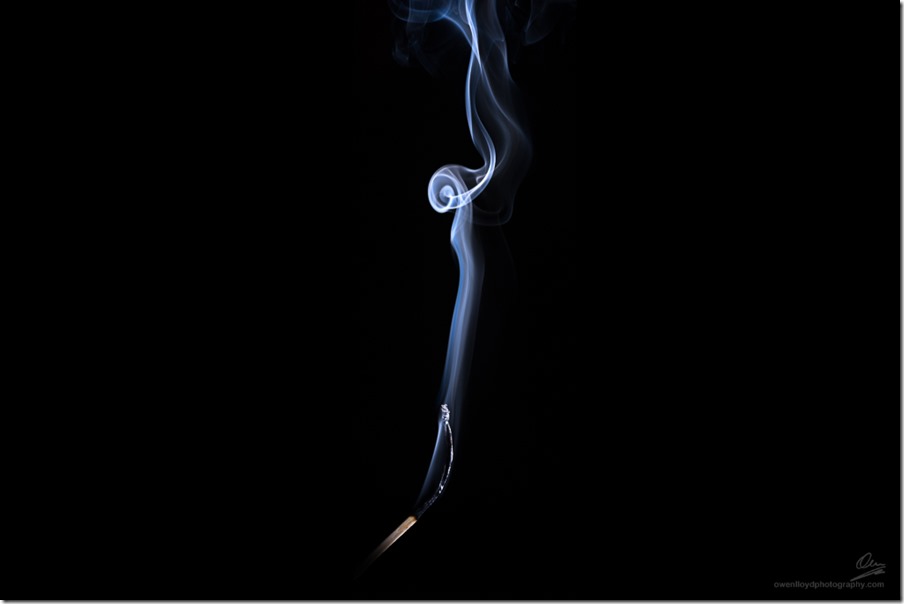
 I wanted to start out simple and looked around for something that would reliably produce smoke. My first instinct was Jos-sticks. Everybody uses these right? They burn slowly and consistently, and give off a constant stream of smoke. Sorted. I bought a box and a little wooden holder (basically a nice strip of wood with a hole drilled at a 45 degree angle to hold the stick at the same angle. There’s only one problem with Jos-sticks though. Man, they stink. I don’t know how anyone can stand to have these things in their house. I couldn’t stand the smell and disposed of them immediately after opening the box. People buy these because of the smell right? Why is it they smell like the wrong end of a toothpaste factory then? I used large cook’s matches instead. These give off smoke when you ignite the sulphur, but this is a bit furious, and agitated. It is a nice blue colour though. The smoke you want however, is given off when the match is blown out, or just goes out on it’s own. I put the match in the Jos-stick holder and lit it with a lighter.
Lighting the Smoke
I use “smoke” (actually fog or vapour) in the studio all the time working with models and dancers and so I knew already what sort of effects you can get out of it with lighting. Mostly from the side and around to the back produces the most dramatic look. There’s a bunch of videos on YouTube that will tell you how to get a great looking shot of some smoke, with minimal gear (usually a Speedlight). I wondered if I could improve on this given I have 7 studio heads and 9 Speedlights lying about the place :-/ However, dramatic lighting is rarely made with dozens of lights. You need shadows to accentuate the light – less really is more when you want some drama in your lighting.
To get nice even light, I went for a 20 by 120 cm strip soft-box powered by a Lencarta SuperFast 600. Unlike regular studio strobes, these lights are governed by an Insulated-Gate Bi-Polar Transistor (IGBT) which allows them to cut-off the light dead, which results in 2 party tricks. First, they can generate extremely short flash durations which is great for freezing motion. This is not that crucial for these smoke shots, however it does have a very useful side-effect which is zero recycle time. For a low enough output and frame rate, the lights will just fire without any waiting time for a re-charge. I had them really close so power was down low, and my D810 will only go at 5fps, which is no problem for the lights. This means that when the smoke arrives, I can just hold the shutter release down on rapid fire and the lights just fire, time after time.
I wanted a black background with the smoke nice and bright, so I needed to keep the light off the background. Positioning the light off camera left or right and behind the smoke aimed back at the smoke is the general idea. Of course, I also needed to keep the light from hitting the lens as well and causing flare and general haze in the image. In days gone by you had to use a big ole flag for this, however all my soft boxes have grids. The grid stops the light from shining out over a wide angle by effectively converting your soft-box to a lot of little soft-boxes with deep edges.
I ended up using two identical strip boxes with grids, facing each other for these initial smoke-only shots. This also meant I could turn the power down on each light even more. I didn’t need to but if I was hitting the limits on the frame rate, this is the way to go – just add more lights, so each one is supplying less of the overall light.
Shooting the Smoke
 There are only a few seconds to shot the smoke using a match, so everything else needs to be ready. I focused on the tip of the match and then composed the shot with the match at the bottom to give plenty of space for the smoke to move up into. Now, I disabled AF on my shutter release years ago – this holding the button half way to focus malarkey is a throwback to cameras with not enough buttons. If you still have your camera setup this way, you should now switch to manual focus. I don’t need to as my camera will only ever try and use auto-focus when I press the AF button. Pressing the shutter release button on my cameras…er… releases the shutter – nothing else. I always have the camera in AF-Continuous mode, unless I’m using a mechanically driven AF lens. If you don’t want the camera to continuously try and focus as you move it about, stop pressing the AF button!
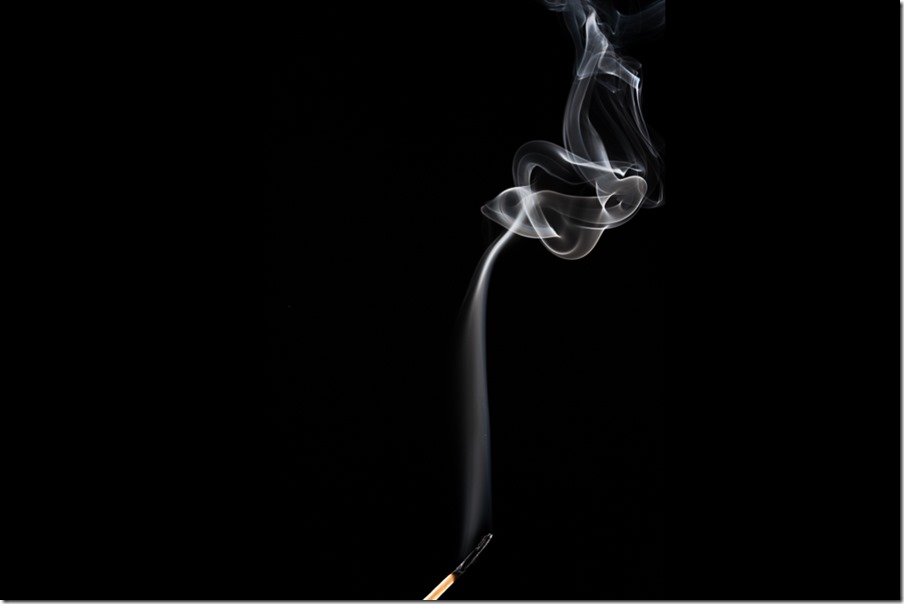
Also, I almost always have my camera in continuous high-speed release mode. If you only want one shot, don’t hold the button down 🙂 So with my camera in manual exposure, at 1/160th, f/9 and ISO64 and the focus and light dialled in I’m ready to go. I shot a burst of 5 or 6 frames as I lit the match with a lighter, and then waited for it to burn down a bit. If you get the match at a steep angle, it will often go out on it’s own as the burnable material is now below the flame. If you have it at a shallower angle, you will need to blow it out. Once it’s gone out, after a half a second or so, the smoke starts. At this point I’ll fire another burst until the smoke has stopped or just got too thin to be interesting.
In Post
Mostly, you’ll just want to set the white balance, and the black and white points to ensure a black background, and then play around with the contrast on the smoke a bit. I also apply sharpening but with a very heavy (80-90%) mask to only sharpen the edges of the smoke.
….in the next part – we’ll look at using tungsten bulbs to generate the smoke, and some of the additional lighting challenges having the glass in the shot brings.

