 Having sorted the general lighting and approach to shooting some smoke, here’s the next phase in my smoke project – tungsten bulbs. The tungsten filaments in these bulbs can glow white hot and not just burn up because the bulb is filled with an inert gas, such as Argon, Krypton or Xenon. The so-called “noble gases”do not interact with incandescent material, and so the filament can carry on glowing at near melting point for thousands of hours. If you turn it on in regular air however….
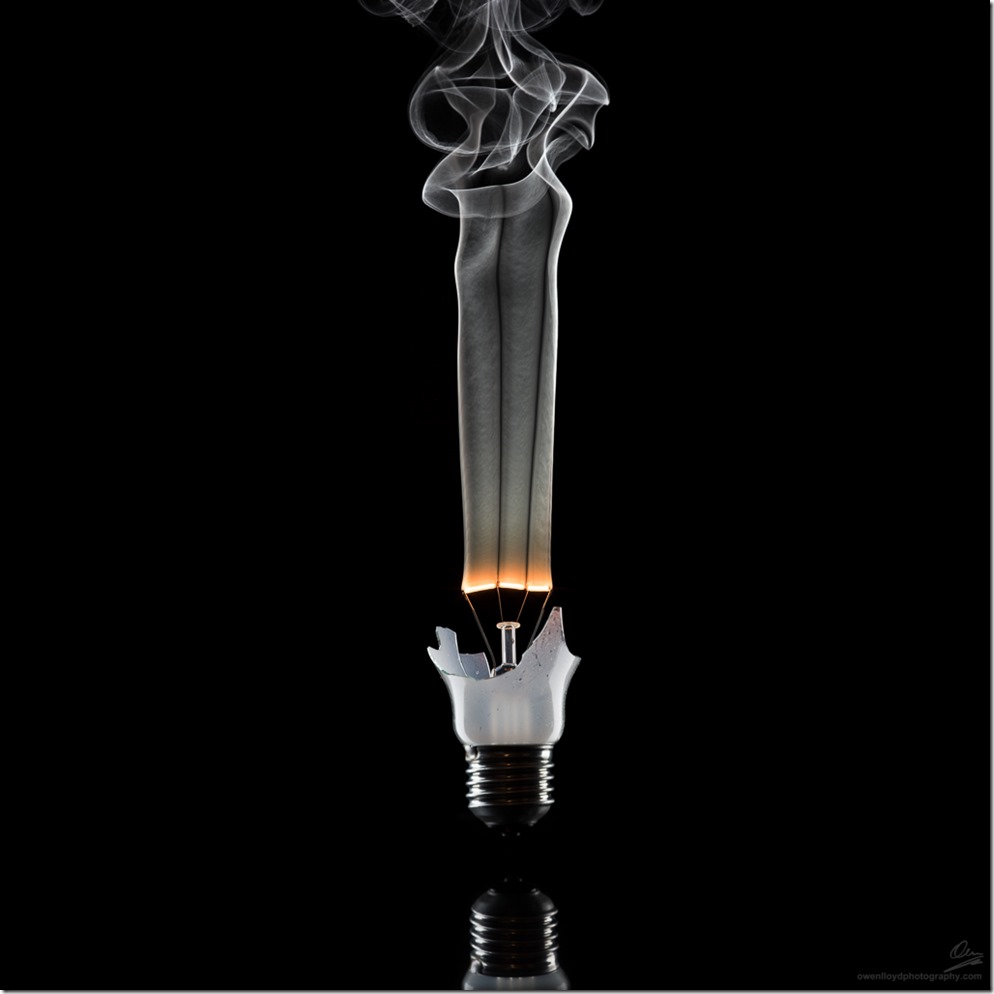
…then it burns up in seconds, and, of course, produces smoke. For the first shot, I used a couple of white tungsten bulbs I had lying about.
Removing the glass
I tried a couple of methods of removing the glass part: first I tried using a tube or pipe cutter but each time, the glass just shattered and I ended up mangling the filament. In the end I settled on this technique using the proper tool:-
- Wear thick gardening gloves and eye protection!
- Fit the bulb into a bulb holder as there’ll be nothing to hold after you’ve taken the glass away – I used a stick-like table lamp.
- Put the bulb and holder into a plastic bag and lay it down on a table or bench
- Take a small hammer and tap the bulb until it breaks. Use the arm holding the bulb or lamp as a stop – i.e. cross your arms so the hammer cannot travel more than 5mm into the bulb. This will hopefully prevent it from hitting the filament.
Try and arrange the bulb so that the filament is mostly horizontal. This will minimise the chances of destroying the filament when you smash the glass. It took me two tries to get a usable bulb this way.
Power
The filament will last a bit longer if you ramp the power up slowly by using a dimmer. You can buy in-line types that pass through the power socket for less than £10/$15 on eBay. You plug this into a power socket and then plug the lamp into the dimmer. Make sure the dimmer is turned all the way down to zero before switching everything else on. Incidentally, using a dimmer on your regular tungsten lighting in your house will prolong the life of the bulbs enormously. All of the 11 bulbs in our dining room are on a dimmer and have so far lasted the 14 years we’ve lived in the house!
Lighting the remains of the bulb
 I still had some glass left around the base of the bulb and my two gridded strip boxes I used for the match generated smoke produced some very unattractive reflections of the grids in the remains of the glass. I removed the grids, which made for a much nicer reflection in the bulb but produced a glow on the black background cloth, so I angled them away from the background and pointed them forwards from behind the bulb towards the camera (out of shot, left and right though). This cured the background glow, but produced another lens flare glow from light shining directly into the lens :-/ I cured this by making an 8” long snoot for the lens out of thin black card. I rolled it up into a tube, stuck it together with some black gaffer tape (only on the outside – black gaff is shiny) and put this over the 105mm macro lens I was using for these shots. This cured the flare.
Shooting the thing
I focused on the filament and composed the shot as before with the bulb in shot at the bottom, vertical, with plenty of room for the smoke to rise into. I took several test shots to adjust the lighting and exposure and with the camera on continuous high-speed shooting, I made the room dark (room lights and modelling lights off) and started to turn up the power on the dimmer, with my other hand over the remote shutter release. As soon as it started to smoke, I started shooting at 5fps and continued until the filament broke.
Having your cake and eating it
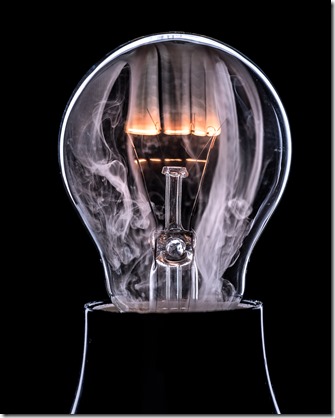
Could we have smoking filaments, with the glass still in place? There are a few shots of smoke filled bulbs on the web. They could be composites of course, but in theory all I needed to do was remove the argon inside the bulb and replace it with air. I decided to try and drill a hole in a bulb. I wanted clear bulbs for this experiment and I reckoned on a high failure rate from the drilling, so I bought 50 clear E27 screw cap bulbs online.
Drilling into bulbs
 My weapon of choice for this is a Dremmel. I looked over the vast array of cutting discs, stones and other contraptions I have for the Dremmel, but ended up using a regular metal-drill bit, about 2mm in diameter. Now, you could maybe drill straight into the glass by putting a bit of tape over it, but I didn’t want the hole visible if at all possible, so decided to drill through the metal screw cap and into the glass through that. Just like the glass smashing exercise for the previous shot, I needed the filament and the electrical connection between it and the cap intact, so some examination of the path these connections take is required before making holes in it. I chose a spot away from the wires inside and between the first two ridges on the cap. If you try and just drill into the cap, the drill will skip all over the place. To get it started, use a low speed (low for a Dremmel that is, they start at 14,000 rpm…) and using a very shallow angle, stroke the drill bit back towards you to make a groove perpendicular to the ridges. Where the dip in the screw thread crosses your groove you will get a nice dip into which you can now stand up the drill and gently push into the cap. Just as with the hammer, limit the amount the drill can move down using a collar on the drill itself or by placing the arm you are holding the bub with under the arm with the Dremmel on the end. Drill like a dentist 😛 You’ll know if you’ve gone through the glass inside the metal cap if you see a fine dust appear inside the bulb.
When I ordered the bulbs, I also bought a few cheap plastic E27 bulb mounts – the type you can screw to a back board or wall. I cabled this up to a plug and used hot-glue to hold the cable in place underneath so it sat flat on my shooting table. I clamped the cable to the shooting table as well to ensure it didn’t pull the bulb around.
Lighting clear bulbs

 It became apparent instantly that 2 strip boxes was not going to cut it. Lighting a whole clear glass bulb with an even edge light all the way around needed a new solution. I did play around with angling the boxes in all kinds of ways but eventually moved on to a new solution. I needed a horse-shoe shaped light behind the bulb, with a black centre. I achieved this by putting up a 1200mm octabox behind the bulb, facing directly back to the camera, and then blocked off the middle using black foam core held up by a Justin Clamp on a mini boom. I used two pieces if foam core one behind he other so I could adjust the width. After much staring through the finder, or at the live-view display and taking test shots, I got the distance right between the bulb and the soft box and the position of the foam core. The further away the soft box is from the bulb, the thinner the edge gets. I wanted it nice and thin, but with no breaks in it.
Shooting
Pretty much as before, I focused on the filament inside the bulb, took test shots and composed the image, but this time with the bulb front and centre and filling the frame, as the smoke would be contained inside the glass. With focus set and light power dialled in, I turned off all the ambient light as before and slowly turned up the dimmer. The bulb lit. And stayed lit. I hadn’t drilled far enough and the glass was still intact 🙂 After a bit more drilling, I tried again, and this time it started making smoke inside the glass. I started shooting and got 5 or 6 frames of various smoke levels, with a nice orange glow from the filament in the shots.
Finishing the images
 I set the white and black points on all the images along with the white balance, and adjust contrast. I made some tweaks to the colour of the smoke, and the filament boosting the saturation of the orange and blue channels.
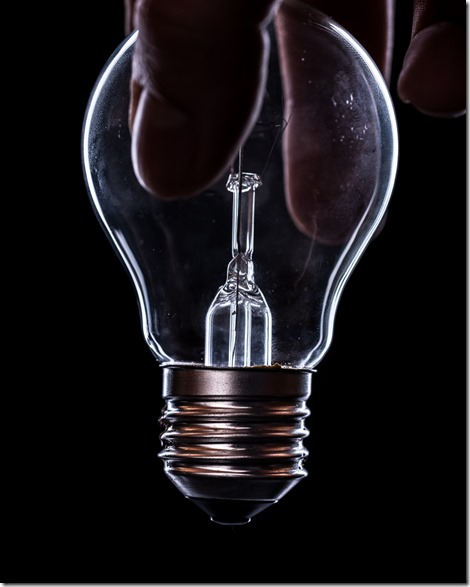
I shot the screw cap of the bulb (without the hole visible) and comp’ed this on in Photoshop to give the illusion of a bulb in free space lit and smoking. Of course, if you’re a purist about these things you could solder the wires directly to the bulb and suspend it somehow, but I figured I’d be preparing bulbs for hours. I’m not precious about how the end result comes about and so Photoshop is sometimes the best answer.
Shoot the bulb from the same place, in the same light and you’ll make your task in Photoshop that much easier. Just open up the shot of the cap as seen on the right as a new layer (either open both at the same time as layers from Lightroom or bridge, or open this one as a new document, and use the move tool to drag it up and into the main bulb image).
Once you have it as a layer above the main bulb shot, reduce the opacity to around 50% so you can see the other layer beneath. Use Free Transform (CTRL-T) to rotate, move and scale the cap so that it lines up perfectly with the main bulb shot. Once you’re happy with the position, commit the transform (ENTER, or click the tick) and set the opacity back to 100%. Now put a black (hide all) mask on this layer, grab the brush on white with a 50-70% hard edge and paint the cap in on the mask. Keep painting in and out (with black) until you are happy and merge the two layers. I actually used a bit of the lower left-hand edge of the bulb on this as well, to repair a gap in the main image.
The reflection in the broken bulb shot is a real one made with a sheet of black Perspex that I put in place for the cap shot. It is composited in in the same way though.
I applied some sharpening, with a heavy mask to avoid sharpening the smoke. To finish up, I expanded the canvas left and right to make a 3×2 horizontal image and filled the extra space with black. I prefer this aspect ration and the extra space for the bulb to be in.
I now have 49 bulbs left 🙂 I have a number of variations I want to try along with the some high speed capture but that’s for another post.

