Category Archives: Lighting

ISO: does it really matter?

I watched Tony Northrup’s video on how to interpret the test scores on DxOMark (click here to watch this).   Tony and Chelsea’s videos are always well researched and I recommend them as a source of objective information.  Moreover – Tony takes a scientific approach to the research.   What does this mean?  Well, science is all about fact and evidence, and if you find evidence that contravenes your hypothesis, you need a new, or least modified hypothesis.  Tony does this – if he finds evidence that what he thought before was wrong, he changes what he says.     Not everybody can grasp this as can be seen in the comments below his videos 😛

In this video he observed from DxO’s test charts that especially for the sensors in Nikon bodies, there was almost a 1:1 trade off in dynamic range for every stop you gained in sensitivity – so in theory, you were not really gaining anything.  E.g., if you shoot at ISO 100, and then same thing again at ISO 200, you gained a stop of exposure, but lost a stop of dynamic range.  The extra dynamic range in the ISO 100 shot, allows you to bring it up a stop in post to match the exposure of the ISO 200 shot, with pretty much the same results.

I have a bunch of Nikon bodies so I thought I’d test this.  I used my D810 for these test shots.  I took 3 shots in manual exposure.  One at 1/320th of a second, f/8 and ISO 3200.  Then I took the same shot but at ISO 100, and added 5 stop of exposure to it in Lightroom.  As a reference I then kept it at ISO 100 and dialled in 5 stops of exposure time to get a clean shot at 1/10th of a second, f/8 and ISO 100.  Here they are:-

_OHL66031-320 sec at f - 8.0 ISO 3200_OHL66041-320 sec at f - 8.0 ISO 100_OHL66051-10 sec at f - 8.0 ISO 100

Continue reading

Testing Macro Solutions

Fancy doing some insect macro out in the wild and I’ve been trying out various lens solutions and lighting.   Last time I did any of this I just brought the flies into the studio and this works well.   See here.   This time I wanted  portable rig for capturing the flies in their natural environment.  Here’s the first rig.  A Sigma 105mm Macro with some passive extension tubes on it to give more magnification, IMG_1169but with the loss of auto-aperture control.  Normally, with modern automatic cameras, the aperture diaphragm is wide open when you are looking through the finder, and only stops down to the aperture you dialled in when you take the shot.   This means there is plenty of light to see and focus the subject by.   Without auto-aperture control, you either have to open up and stop down the aperture using the aperture ring manually (and in doing this you’re mess up your focus) or you need to look into the darkness and attempt to focus the subject with the aperture stopped down.  As you can imagine, the success rate isn’t high :-/

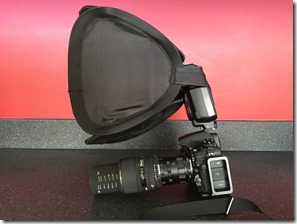
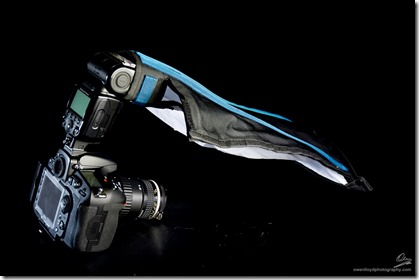
DSC_0230For the light I jammed on a small soft box, which has enough surface visible to the subject to cast some light on it.  Most of the light is lost though, and it’s a bit harsh.   I’ve switched out the soft box for the Rogue Flash bender XL with the soft box attachment.  This gives a good wrap around light and the best bit is that of course, you can bend it, so if you want more light on the right or left you can bend the appropriate side down, or bend the far edge down for some more backlight etc.   The subjects will be around 40mm from the front of the lens (or back of the lens in this pic as it’s reversed :P) so from that position it’s a really nice soft light.

I’m just using the flash on TTL, with the camera in manual exposure, 1/250th of a second at around f/8 to f/16.  I’ve left auto ISO on for these as well.   As you’ll see below, this means more or less ambient in the scene depending on the magnification, with an almost black background for the higher magnification shots, as the ratio of distance to camera (and the light) between subject and background increases (and so the light falloff is more pronounced).

Continue reading

Beauty Shoot

_DSC3169-Edit

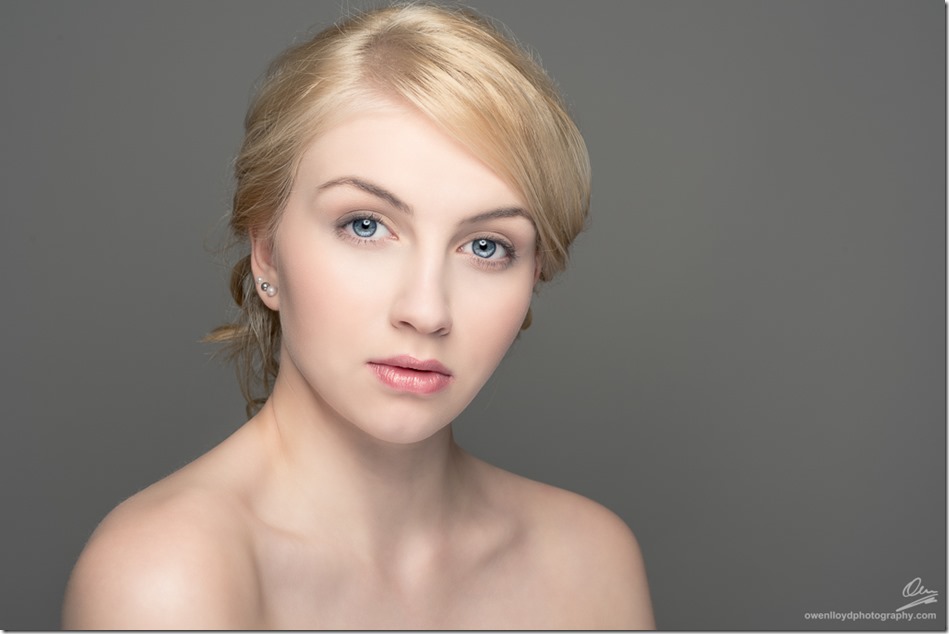
It’s been a while since I did any classic beauty style shots in he studio, and I’ve learnt a lot since the last one.   Mainly I’ve been influenced by Joel Grimes in recent months for this sort of look – joelgrimes.com   Go check out Joel’s work – he’s been working as a photographer for over 25 years and has honed his craft to a fine level of detail, and that’s what his style is all about – the lighting, shooting distances and angles are very finely tuned.  That doesn’t mean he gets a tape measure out, in fact one of the hallmarks of Joel’s approach to his work is that nothing matters except the result – he’s not interested in meter readings, modelling lights, histograms, ratios or any of that stuff – if it looks good on the back of the camera  – it’s right.  Having studied his work both via his website, YouTube, and a couple of his videos on KelbyOne – http://kelbyone.com/members/joelgrimes/ I booked into my friend John Gannon’s studio http://www.studio-de-lumiere.co.uk/ with model Jessica-Jane Taylor and Make-Up and Hair stylist Emily Rose Connor to put what I had learned to use 🙂

Continue reading

Group shots. Hate em.

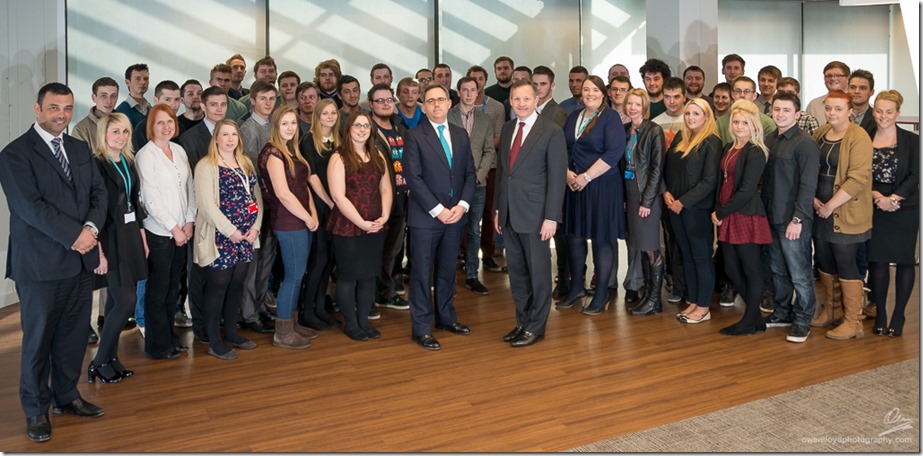
However, in terms of photography that is requested (as opposed to the stuff I dream up ) this sort of thing is high on the list.  The effort required is often no less, even though the end result is, to my eye, flat and boring.  Corporate work like this also has to look easy when you do it – CEO’s of major global banks don’t hang about.  In this shot we have 50 or so of the 2013 Barclays technology apprentices who have been at Barclays for just under a year now.  At the front, on the right we have Antony Jenkins:  CEO of Barclays Group, Peter Josse: CIO to the left and at the far left, we have Graham Bastin, site exec for Barclays Technology Centre, Radbroke in Cheshire – the largest technology research centre in the UK outside of Cambridge.  We had 30 seconds.

_OHL4163

Continue reading

Questions


Cassie Wrightson, a photography student from Hertfordshire in the UK wrote to me to ask about the pictures in my Dance Gallery for her written piece on the theme of ‘Time’.  Here’s what she asked, and I sincerely hope the resulting babble I sent back was in some way helpful 🙂

  • My first question is what is the context behind the photos?
  • How did you take the photographs?
  • Which camera did you use and what setting did you have your camera on?
  • How did you get the image so crisp?
  • Why did you choose the colours of what the dancers wear?
  • Is there any hidden messages that link to the photos?
  • And finally why did you choose these 22 photos in particular?


Dancer:  Gabrielle Dams Crew: Suzy Clifford, Chris Steel, Lorraine Barnard, Clara Barnard. Time lapse BTS shoot: Clara Barnard Theatre technician:  Paul Edwards Make-up: Gabrielle Dams Model Ageny:  Becky Hampson, Body Couture Location:  Grange Theatre, Hartford Special thanks to The Grange School.


Continue reading

Flinging Flour

This was the second of 3 shots we did with the Lencarta SuperFast lights.  This sort of shot is something you only get so many goes at: you run out of flour, coloured powder, and of course, eventually, the model is so covered in flour it changes the look of the images.   Shooting continuously on high speed (well as fast as my D800E will go anyway – the lights will go faster) makes it all the more likely to get a usable frame from these sets.

This was the first time I’d attempted this shot, and while we got a few reasonable images – it’s not quite achieved the drama I want.  I think I know why and I’ll come back to that at the end of this blog.

_OHL7853-Edit

Continue reading

Flour Again

As I had so much flour left over, another shoot with it was, well inevitable.  However, before inevitability could strike, James Wall, marketing director of Lencarta lighting wrote to me and asked if I’d be interested in doing it again at their studio in Bradford, to promote the SuperFast lights I had been using for the last few shoots.  Well – I’d be doing this sort of thing anyway, so this was not a hard decision, and wouldn’t need to sell anything – these lights are genuinely fantastic.

_OHL7765-Edit

Continue reading

YN622N SuperSync

Ok, so if you want to freeze action outside using both sunlight and flash, you’ll need to use a high shutter speed to freeze those parts of the subject that are lit by the sun – as its a continuous source.  Sure you may be able to light the subject in such a way that they are dominated by flash, and use a regular x-sync compatible shutter speed to freeze your subject with fast flash, however to get them completely frozen, you’ll need to freeze all the light with a high speed shutter – say 1/4000th of a second.  We know we can use compatible Speedlights for this with High Speed Sync (HSS pulses the light to share it out over the entire shutter operation – to act like a bright continuous light) however this is only possible with certain Speedlights.  If you need more power, you can always tape more Speedlights together, however sometimes its more convenient to use one big light:  you can configure it quicker and use all manner of modifiers on big lights.


Continue reading